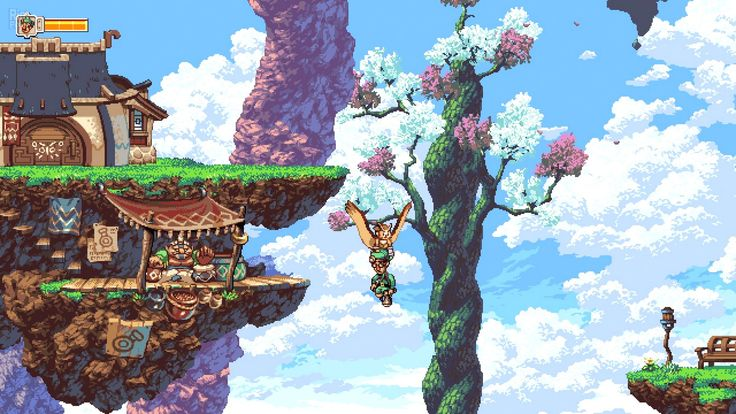
Video game concept art is the foundation of any pixel art project. It provides the framework for creating a unique universe where every pixel has a function. Even on low-end hardware, pixel games are highly regarded for their constant performance, instantly recognizable appearance, and ease of use. Today, this genre is more than just nostalgia; it’s a whole creative choice that requires planning and restraint.
Step 1. Concept
Before beginning the drawing process, it is essential to have a solid grasp of the game’s concept, target market, and desired ambiance. The color palette determines whether the game seems bright, calm, simple, or intentionally harsh. The notion is not only an artistic guide; it is the foundation of the entire process.
The preparatory stage includes:
- Choosing a resolution. The most often used formats are 64×64, 32×32, and 16×16. More detail is possible at higher resolutions, but the effort required also increases.
- Creating a palette. Limiting the number of colors (16–32) helps maintain a consistent style and recognizability.
- Determining the proportions of the characters. Decide whether they will be realistic or simplified.
- Analyzing similar games.Determine which options are appropriate for your genre and which should be avoided.
Starting with a clear vision helps the team stay on track and minimizes the amount of reworks.
Step 2. Creating Sprites
Everything in pixel art is made by hand; there is no automation. Every sprite needs to be carefully considered in order to be identifiable even with a limited amount of pixels. Making the image comprehensible and aesthetically balanced is the primary objective.
Basic elements:
- Characters. They should be legible, contrasting, and clearly distinguishable from the background.
- Environment. Floor tiles, walls, backgrounds, and decorations that create the atmosphere.
- Objects. Coins, bonuses, items that are easy to recognize and convenient to collect.
- Interface. Menus, buttons, icons that fit harmoniously into the palette.
Aseprite, Photoshop, or Piskel are commonly used for this work – all of them support layers, animation preview, and quick creation of sprite sheets.
Step 3. Animation
Animation in pixel art is based on rhythm and clarity. You don’t need dozens of frames – it’s important that the movement feels natural. Two or three phases can look expressive enough if the movement is logical.
Artists usually work on the following tasks:
- Character animations: walking, jumping, attacking, waiting.
- Environment animations: water, flames, movement of mechanisms, sparkle of elements.
- Interface animations: pressing buttons, highlighting active elements.
After creating sprites, it is important to check everything directly in the engine – so that the movements look correct in the game, and not just in the render.
Step 4. Choosing an Engine
Pixel games are supported by most modern engines, but some provide a more convenient workflow:
- Unity – has a complete set of tools for 2D: tilemap, physics, lighting, animation.
- Godot – free, easy to configure, suitable for small indie teams.
- GameMaker Studio – focused on 2D, has its own sprite editor and animation systems.
- Construct – convenient for browser and mobile games, does not require programming.
For mobile releases, especially on iOS, many teams consult App Store game development experts to ensure the project meets Apple’s performance and rendering guidelines — pixel scaling, lighting setups, and shader behavior must be tested on real devices.
Be sure to configure the pixel scale and render settings. This will avoid blurring or distortion on different screens.
Step 5. Gameplay and Optimization
Good graphics won’t save a game if the controls are awkward or there are delays in responses. Therefore, physics, collisions, sound, and camera reactions need to be tested before the art is finalized.
Key points to check:
- Accuracy of character movements and collisions.
- FPS stability on different devices.
- Matching music and effects to the visual style (chiptune is often used).
- Disabling texture filtering to maintain sharp contours.
Regular testing helps avoid mistakes that spoil the first impression of the game.
Step 6. Final Polishing
The final stage is bringing the game to a complete look. Small details are added to make the project complete, but not overloaded.
Most often at this stage:
- Colors, contrast, and lighting are adjusted.
- Smooth transitions between scenes are configured.
- A little depth is added through the parallax effect.
The only things left to do are create a release, a description, and screenshots. Gathering feedback after launch is a good idea since it will show you how players feel about the style and what needs to be addressed in future iterations.
Pixel games are valued for their uniqueness and expressiveness. The attention to detail that sets the scene and draws the player in is more important here than the quantity of polygons.